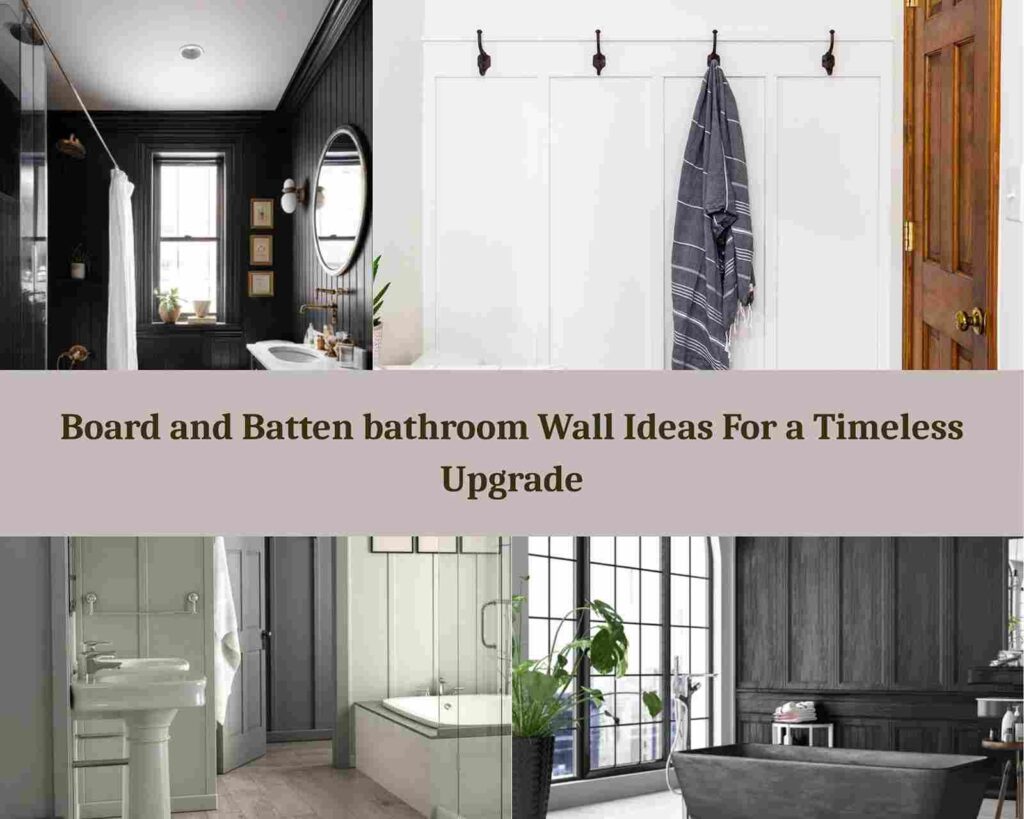
There’s something about a board and batten bathroom, clean lines and textured walls that makes a bathroom feel customised and put-together. Board and batten is a type of wall that uses vertical boards with horizontal battens creating geometric patterns.
It’s been around forever in home design, but it’s having a major moment in bathroom renovations right now.
Board and batten is a design element that works with ANY style home like farmhouse, modern, traditional. Plus, it’s budget-friendly compared to other bathroom upgrades. You can DIY it with basic tools and lumber at a local hardware store.
I did this in my guest bathroom last year and I was shocked at how much of a big impact it created in a budget-friendly cost.
In this post, I’m going to walk you through some of the best board and batten wall ideas for your bathroom that might convince you to try this.
Then I’ll break down how to install it yourself, plus answer some questions about the best materials to use in moisture-prone bathroom spaces.
Design Ideas For a Board And Batten Bathroom
When we talk about board and batten bathroom ideas, there are a million ways to customize the look. The height, color, pattern, and spacing all can create a different vibe.
I’ve rounded up my favorite ways that I’ve used myself or recommended to clients for a long time.
So, let’s dive in and find out what’s waiting for you inside.
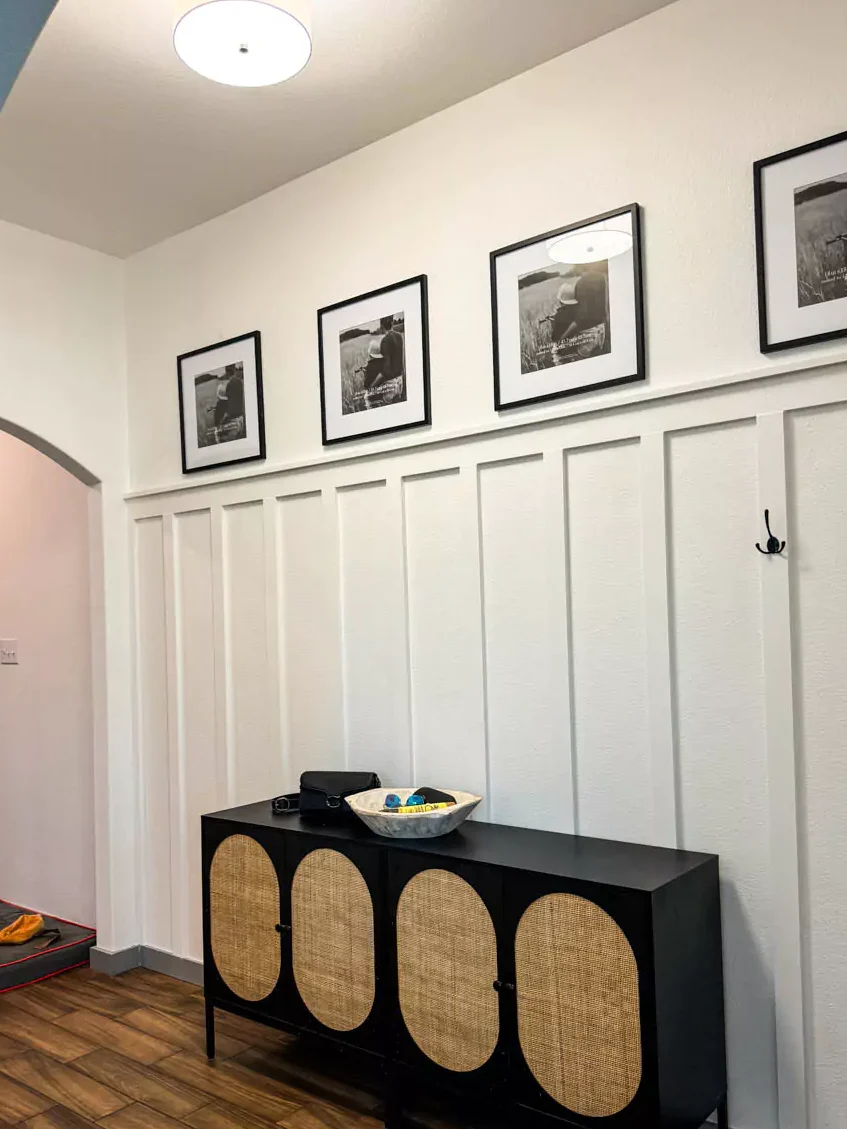
Board and Batten Bathroom with Hooks
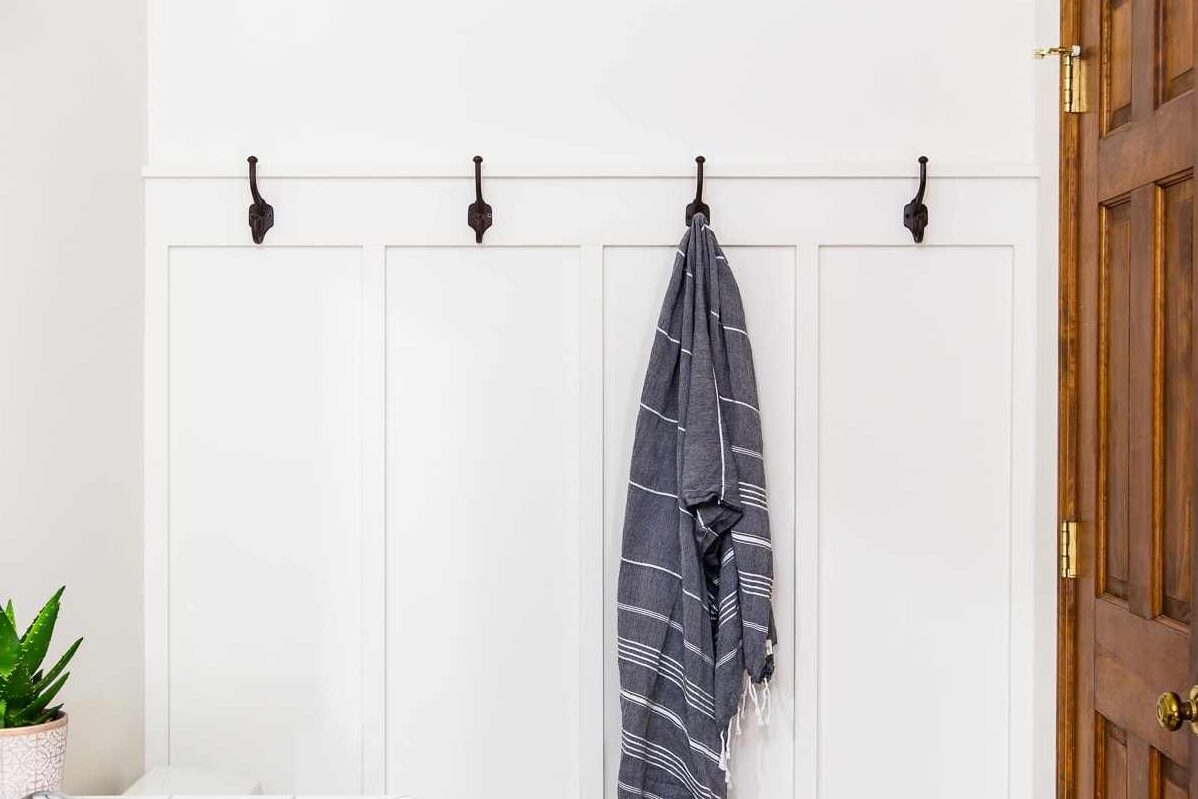
This might be my favorite functional bathroom upgrade EVER.
Adding hooks to your board and batten wall is like getting two upgrades in one; walls PLUS practical storage.
The battens create perfect sections where hooks make sense visually. You can hang towels, robes, or decorative items like small baskets.
In my sister’s bathroom makeover, we did board and batten with brass hooks that transformed how the space functioned.
And the best part is you can space the hooks at different heights so everyone can reach their towels.
Try painting the board and batten in a semi-gloss finish if you’re adding hooks, it’ll wipe clean easily when hands touch it with wet fingers.
Half-Wall Board and Batten for Classic Charm
If you are not ready to commit to a floor-to-ceiling board and batten that’s not an issue.
Half-wall treatments are actually my go-to recommendation for most bathrooms.
This classic look goes about 3-4 feet up the wall, with regular painted drywall above, it’s like wainscoting but with personality.
The half-wall creates this lovely division in the room that makes everything feel intentional and designed.
You can paint it the same color as your upper walls for a subtle, sophisticated look or go bold with contrasting colors.
I did this in my downstairs powder room with navy blue board and batten and light gray walls above.
Half-wall board and batten is perfect for powder rooms or guest bathrooms where you want to make an impression without going overboard.
White Board and Batten Bathroom
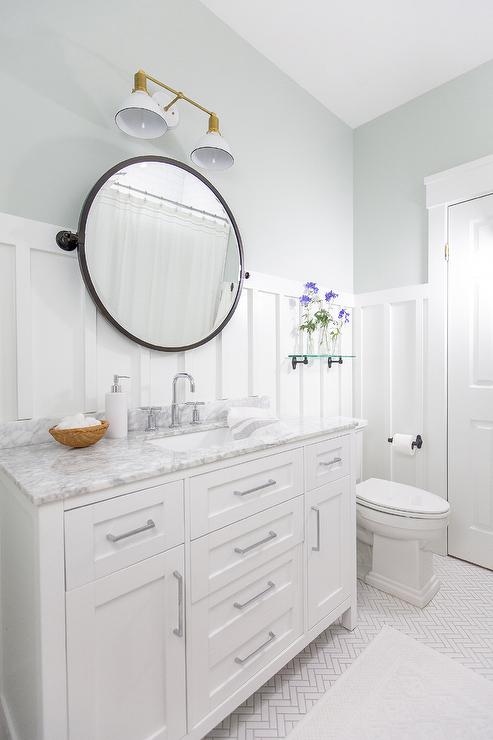
White board and batten is TIMELESS and there’s a reason it’s the most popular choice.
A white bathroom with this treatment feels clean, bright, and so much more interesting than plain white walls.
The shadows created between the boards add depth and dimension without adding color.
In smaller bathrooms, white board and batten helps reflect light and makes the space big.
I prefer warm whites over cool whites for bathrooms because they feel more welcoming and less sterile.
Always check the sample of white options because there really IS a difference between whites. Some have blue undertones or yellow, or pink.
You can add pops of color with accessories, towels, and artwork if an all-white bathroom feels too plain.
Minimal Style Gray Board and Batten Bathroom
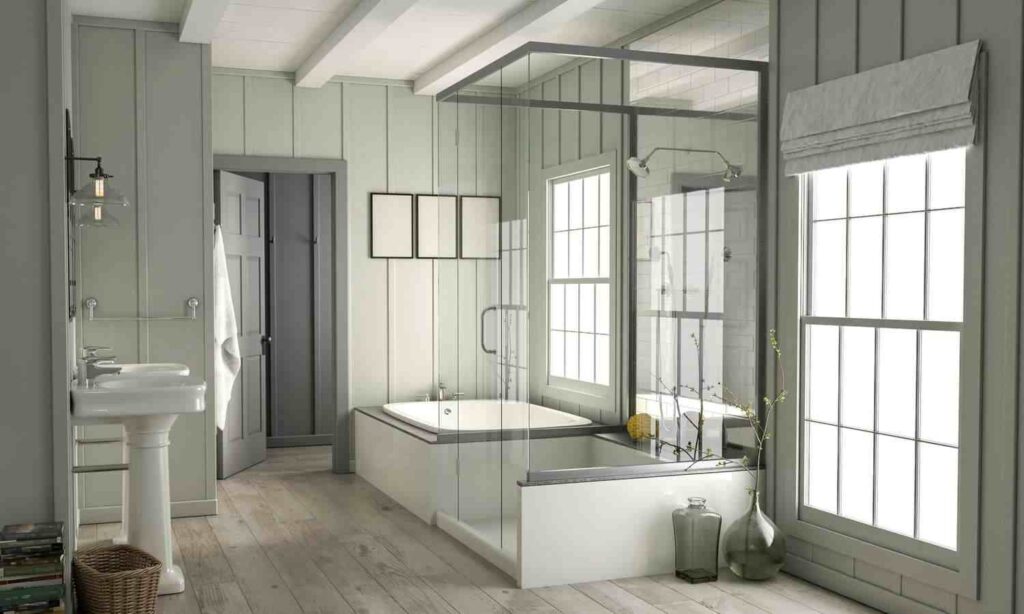
Gray board and batten creates a modern-meets-traditional vibe that I’m totally here for.
It’s perfect for people who want something more dramatic than white but aren’t ready to go bold.
Light grays feel airy and spa-like, while dark charcoal tones create a moody, luxurious vibe.
I recently helped a friend update her bathroom with light gray board and batten paired with white marble accents. The combination was STUNNING.
Gray works with literally any metal finish too like brass, chrome, matte black, they all pop beautifully against gray board and batten.
The minimal approach works best when you keep the batten spacing simple and consistent.
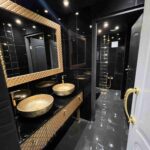
Black Board and Batten Bathroom

Black board and batten is actually amazing in bathrooms, especially powder rooms or large bathrooms with good natural light.
It creates this incredibly dramatic, high-end look that feels like a fancy bathroom.
The texture of the board and batten keeps black from feeling flat or too dark.
I painted the board and batten black in my powder room under the stairs, and it’s now everyone’s favorite bathroom.
If you doubt going all-black, try the lower half of your walls with black board and batten, and the upper portion with white.
Black bathrooms look INCREDIBLE with gold fixtures and accessories, the contrast is perfect.
How to Install Board and Batten Bathroom: A Step By Step Guide
Board and batten is one of the most forgiving DIY wall treatments because it’s like to have that handcrafted look.
I’ve installed it in three different bathrooms in my own homes, and each time it gets easier.
In this section, we are going to learn how to install boards and batten walls in your bathroom, and you’ll get a beautifully customized bathroom.
Tools and Materials Needed
You don’t need a lot of fancy tools for this project, which is the perfect reason to love it.
Here’s what you’ll need:
- Measuring tape
- Level (get a longer one – at least 4 feet)
- Miter saw (you can have the store cut your boards if you don’t have one)
- Nail gun (this is SO worth borrowing or renting if you don’t own one)
- Caulk and caulk gun
- Wood filler
- Sandpaper (medium and fine grit)
- Primer
- Paint and brushes/rollers
- Pencil for marking
For materials:
- 1×3 or 1×4 boards for vertical and horizontal pieces
- 1×2 boards for top cap (optional)
- Finish nails
- Liquid nails adhesive (optional but helpful)
I usually get MDF boards instead of real wood for bathrooms. They’re cheaper, smooth, and hold up well to painting.
Don’t skimp on the caulk but get a good quality, paintable one because it makes a difference in the look.
Choosing the Right Height and Spacing
For height, half-wall board and batten looks best around 3 to 4 feet from the floor but you can go high or low according to your liking.
In our main bathroom, I aligned the top of the board and batten with the top of the vanity mirror for a cohesive look.
For spacing, I like to keep it simple: vertical boards every 12-16 inches usually look great.
Use a pencil to mark all your measurements on the wall first. Step back and look at it before you start attaching.
The most important thing is consistency. Measure carefully and use a level for every single board.
Don’t stress if your bathroom walls aren’t perfectly square. You might need to make small adjustments as you go.
Caulking and painting
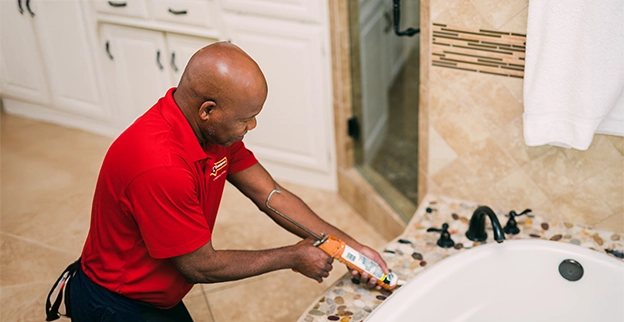
Caulking is MAGIC for this project. It hides all the gaps and makes everything look professionally done.
Apply a thin bead of caulk along every seam where boards meet each other and where they meet the wall.
Use your finger to smooth the caulk for a clean finish.
Let the caulk dry completely before painting for at least 24 hours.
For painting, I do at least two coats, even with paint-and-primer combos.
Semi-gloss or satin finish works best in bathrooms. I do NOT recommend flat paint for this space because of moisture issues.
A small foam roller gives a smooth finish on the flat surfaces, and an angled brush works great.
I like to paint the whole wall the same color for the cohesive look.
Moisture-proofing
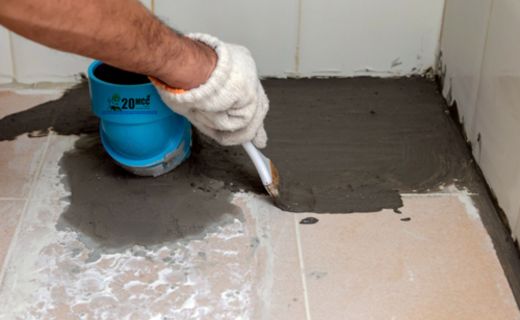
Bathrooms are wet spaces, so you need to think about moisture protection.
Make sure all your boards are thoroughly painted, including the backs and edges before installation.
Some people like to add a clear coat sealer over painted board and batten in bathrooms for more protection.
If your bathroom has a shower or tub, make sure you have proper ventilation with a working exhaust fan.
In our kids’ bathroom, I went the extra mile and applied a thin bead of silicone caulk along the bottom where the boards meet the floor and for protection against water splashes.
I’ve had a board and batten in my bathroom for years with no issues.
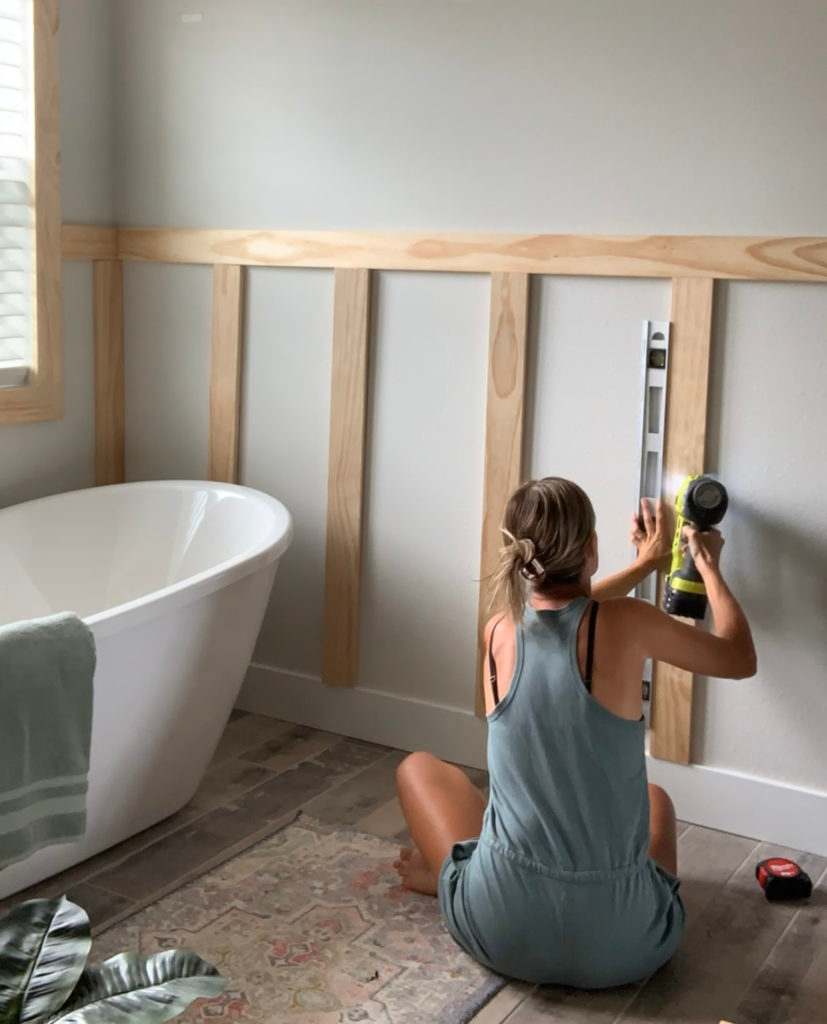
Attaching boards and battens

Start by installing your base boards if they’re not already in place.
Then add your horizontal top board, making sure it’s perfectly level because this is important.
Next, add vertical boards, spacing them according to your plan.
Finish with additional horizontal battens between the verticals.
Use both liquid nails and nail guns for the secure attachment.
Set the nails below the surface, then fill holes with wood filler and sand smooth once dry.
Take your time with this step because rushing leads to mistakes.
If your bathroom has weird corners or fixtures to work around, measure twice, cut once.
What is the best material for board and batten in a bathroom?
This question comes up ALL the time when I’m helping people to renovate their bathroom.
MDF: medium-density fiberboard, is an all-time recommendation because it’s affordable, comes pre-primed, cuts cleanly, and holds paint beautifully.
Some people worry about MDF in bathrooms because of moisture, but if it’s properly sealed with paint, it holds nicely in the bathroom.
PVC board is another option if you’re concerned about moisture as it’s completely waterproof but expensive.
Real wood is beautiful but tends to expand and contract with humidity changes, which can cause boards and battens to crack over time. If you do use real wood, it should be well-sealed.
For a budget-friendly alternative, some people use 1/4-inch plywood cut into strips instead of individual boards.
In my own bathrooms, I’ve used MDF for two and PVC for one, and both have held up great for years.
The PVC was definitely challenging to work with and expensive, so I only recommend it for wet areas.
Conclusion
Board and batten bathroom walls are my favorite bathroom upgrades because they add character and charm at a reasonable price.
It doesn’t matter if you go with white, black, or with other colors, this treatment instantly makes your bathroom feel customised and designed.
The best part is you can do this as a DIY project. My first bathroom board and batten took about two days from start to finish.
Just remember to take your time with measurements, use quality materials, and seal everything properly for bathroom conditions.
If you’re about to try this in your own bathroom, you should do it. It’s one of those projects that looks WAY more complicated than it actually is.
I hope these ideas have inspired you to try this in your home. I bet your guests will be asking where you got your design inspiration.