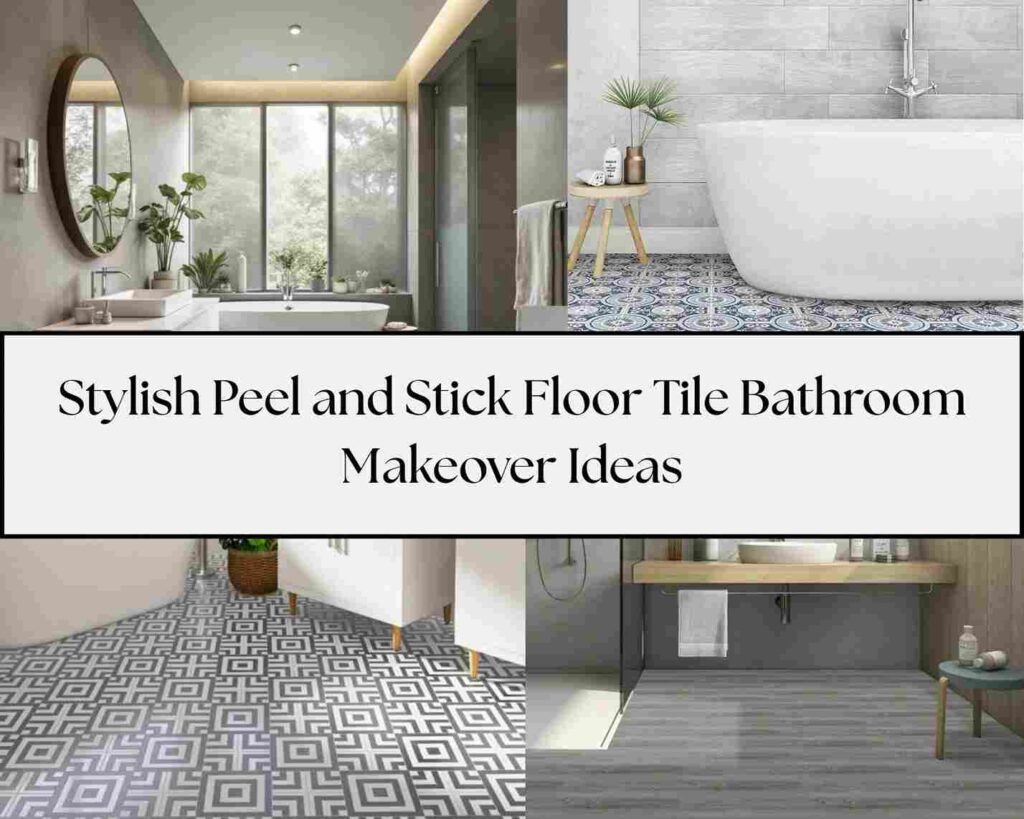
A peel and stick floor tile bathroom is an adhesive backed tile that you can peel and stick onto your bathroom floor. You don’t need tools or skills, only peel off the backing paper and press them down.
What’s good about the stick-on floor tiles is how affordable they are and it means you can transform your bathroom floor in a budget-friendly way. It creates an impact, you can go from outdated to amazing with minimal effort.
These tiles hit a spot where budget meets style, giving you a bathroom that looks more expensive than it was.
We’ll go through everything you need to know about a peel and stick floor tile bathroom. We’ll look at whether they’re a good choice for wet spaces, look at the water resistance capabilities, showcase types, explain what features matter, and share installation and maintenance tips.
Are peel and stick tiles good for bathroom floors?
Homeowners are considering peel and stick tiles for bathroom floors because they’re budget-friendly. Not like tile projects that require tools and skills. They’re perfect for renters because they can be removed later without damaging the floor.
These tiles are budget-friendly. The real magic happens when they’re installed. Taking time to prep your surface and apply the tiles with care makes the difference in the look. Remember that they look amazing, they last years depending on quality and conditions, with bathroom installations on the short end of that range due to moisture exposure.
Understanding water-resistance of peel and stick floor tile
Waterproof versus water-resistant. Waterproof means water cannot penetrate the material, while water-resistant means the material can handle water exposure but isn’t tight. Many peel and stick tiles fall into the water-resistant category because they can handle splashes and water exposure.
The good news is that vinyl-based peel and stick tiles offer water resistance for bathroom use. The tiles won’t be damaged by regular bathroom splashes. The potential problem spots seams between tiles where water seeps down to subfloor.
You can minimize by making sure your tiles fit together during installation and considering applying a clear sealant over the floor. Some homeowners use silicone caulk around the edges of the bathroom to prevent water from getting underneath.
5 Types of Peel and Stick Floor Tile Bathroom
The world of a peel and stick floor tile bathroom offers many options to match bathroom style. Let’s look at five best types that can transform your bathroom floor with a budget.
Morcart Art-deco peel and stick floor tile
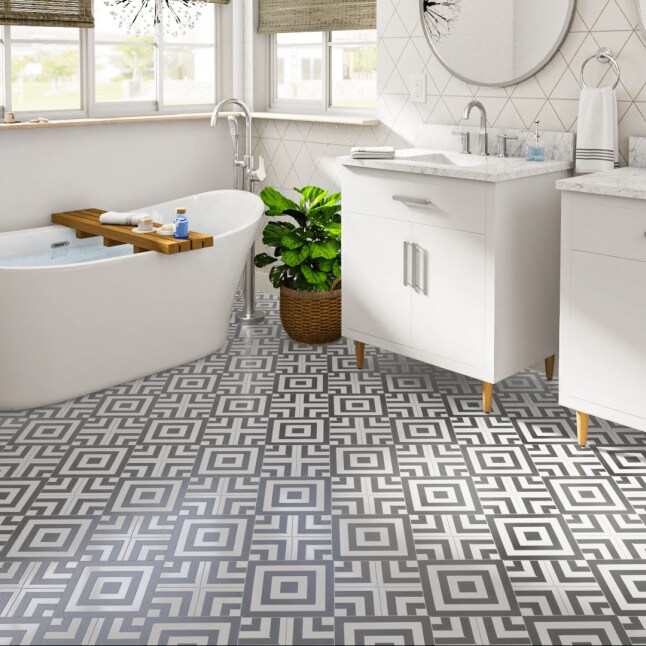
Morcart Art-deco tiles bring vintage glam to your bathroom with bold geometric patterns inspired by the 1920s and 30s. These tiles feature black and white designs or metallic accents that make a statement. They add personality to the plain bathroom and pair with simple white fixtures to create a classic look.
To get the statement tiles, consider using them on a small bathroom floor where they won’t overwhelm the space. You can also coordinate your wall color and accessories to go with accent colors.
Pros:
- Bold, eye-catching patterns that add character
- Best for creating a vintage or hotel vibe
- Small bathrooms look interesting and designed
- Affordable for a high-impact look
Cons:
- Bold patterns can show flaws easily
- Pattern matching can be challenging around corners and fixtures
- Might be busy for some spaces
- May go out of style faster than neutral options
Hexagon marble peel and stick floor tile
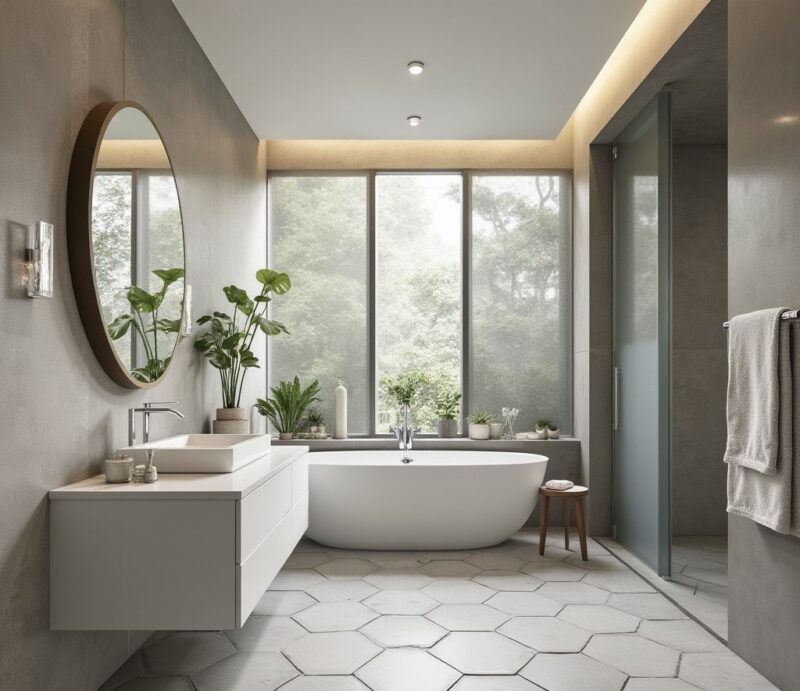
Hexagon marble peel and stick tiles deliver a luxe marble look without the price tag. These tiles mimic the appearance of real marble hexagon tiles with veining patterns. The hexagon shape adds visual interest that plain square tiles lack, and the marble pattern brings a touch of elegance.
When installing hexagon tiles, take time planning your layout because the non-standard shape can be tricky around edges. Start from the center of the room and work outward. These tiles look amazing with brass fixtures and accessories for a high-end look, or with matte black hardware for a modern look.
Pros:
- Upscale marble look at a fraction of real marble’s cost
- Hexagon shape is trendy but timeless too
- Works with traditional and modern bathroom styles
- Light colors make small bathrooms feel large
Cons:
- Hexagons require cutting around edges and fixtures
- Printed marble pattern look fake
- Pattern matching can be challenging with marble look products
- Some brands have less convincing marble patterns
Luxury vinyl peel and stick floor tile
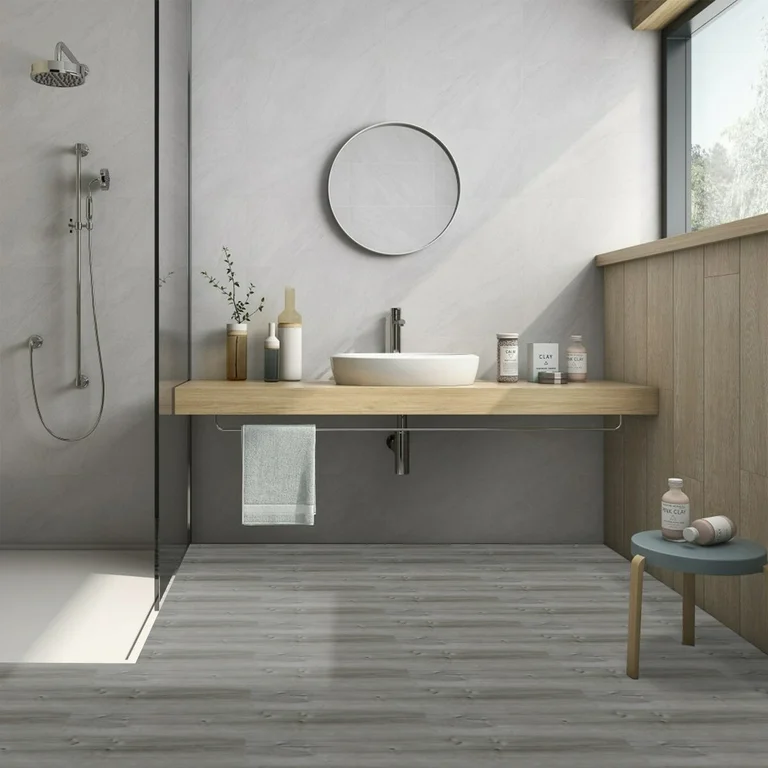
Luxury vinyl peel and stick tiles is the luxe option in the stick-on options. They’re thicker than standard peel and stick tiles, which gives durability and a realistic feel. These tiles come in wood-look patterns, stone imitations, and contemporary designs with realistic textures and printing.
The thickness of these tiles means they look like real flooring, they’re also water-resistant than thinner options.
Pros:
- Super durability, can last for years with proper care
- Realistic appearance and texture
- Better water resistance than basic peel and stick options
- Some brands offer groutable versions for an authentic look
Cons:
- High price point
- Thick material can be hard to cut
- Requires flat, smooth subfloor for proper adhesion
- Heavy weight means adhesive needs to be strong
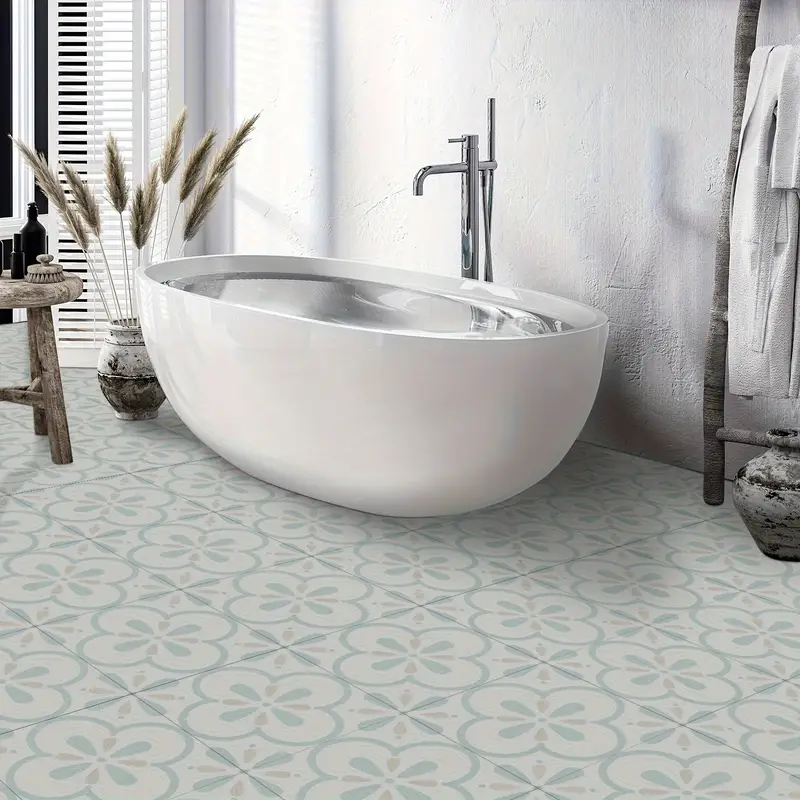
Floorpops Sullivan Cream peel and stick floor tile
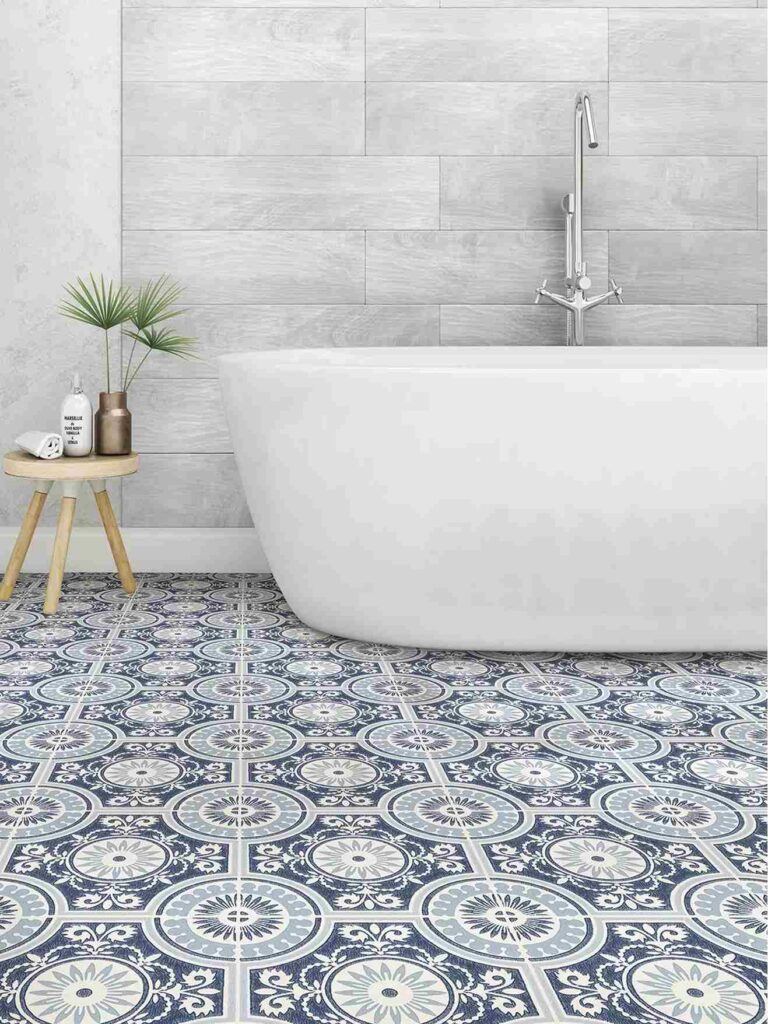
FloorPops Sullivan Cream tiles offer a clean, subtle pattern that works beautifully in bathrooms. These popular tiles feature a delicate, neutral design that adds visual interest. They’re a perfect choice if you want something different than plain tiles but not ready for bold patterns or colors.
These tiles come in squares and install easily with minimal cutting for standard bathroom layouts. They pair with any bathroom design from farmhouse to contemporary.
Pros:
- Subtle pattern works with any decor style
- Neutral color hides dirt and imperfections
- It is also affordable
- Easy to install with straightforward square shape
Cons:
- Typically last 3-5 years in moderate areas
- Less than 2 years in high-moisture bathrooms
- Thin material feels less substantial
- May curl at edges over time in humid environments
Cushioned vinyl peel and stick floor tile
Cushioned vinyl peel and stick tiles have a soft, padded feel that makes them comfortable. This makes them perfect for bathrooms where you stand barefoot. The cushioning comes from a foam layer between the vinyl surface and the adhesive backing, which provides insulation against cold floors.
These tiles are nice in family bathrooms, as they provide a soft surface. They’re great for anyone who spends time standing at the bathroom sink.
Pros:
- Comfortable and warm underfoot
- Provides sound dampening
- Forgiving when installed on imperfect subfloors
- Good option for homes with elder residents or young children
Cons:
- Cushioning can compress with time in crowded areas
- Susceptible to denting from heavy furniture
- Can be punctured by sharp objects easily than solid vinyl
- Sometimes hard to get clean seams between tiles
Key features to consider for peel and stick floor tiles
Not all peel and stick floor tiles are created equally. Before you click on the option you found online, let’s go through the important features that will show how well they’ll work in your bathroom.
Choice of material
The material of your peel and stick tiles affects their performance in a bathroom. Vinyl-based tiles offer the best water resistance and durability for the bathroom. Some tiles have a PVC or vinyl layer on top with a paper or fiber backing.
Look for tiles which are “vinyl” or “PVC” throughout, not only on the surface. The thickness matters too, thin are prone to damage and showing subfloor imperfections, while thick tiles provide durability and a realistic feel.
Moisture resistant
As we’re talking about bathrooms, moisture resistance is important. Check product descriptions like you want tiles rated for bathroom use. Some companies distinguish between bathroom-suitable and wet room suitable.
Consider the adhesive type. Some adhesives become less sticky when exposed to humidity and temperature changes. Look for tiles with moisture-resistant adhesive.
Check the durability
Durability varies between brands and price points. Low-priced options last 2-3 years in a bathroom, while high-priced options can last 5-10 years with care. For bathrooms, look for layer specifications like a thick wear layer means better protection.
Check reviews from bathroom installations, as performance can differ between dry rooms and wet spaces. Also consider the usage, a main bathroom used by kids multiple times needs durable tiles.
Floor prep need
One of the important factors with peel and stick tiles is proper floor preparation. These tiles require a smooth, clean, dry surface to adhere properly. Textured surfaces, grout lines, or uneven floors will prevent proper adhesion and lead to tiles lifting.
Some brands are more forgiving of imperfections than others. Cushioned vinyl tiles can bridge minor flaws, while rigid tiles show every bump. If your existing floor has texture or unevenness, factor in preparation materials like floor level or a smooth underlayment into your budget and timeline.
Design and style
The variety of designs is what makes peel and stick tiles fun. From vintage-inspired patterns to realistic stone looks, you can find something for your bathroom style. But beyond picking a pattern, consider the practicality of the design.
Light colors show dirt less in bathrooms but can make small spaces feel large. Busy patterns hide installation imperfections better than solid colors. Small-scale patterns work better in small bathrooms, while large bathrooms can handle big patterns.
Also consider the style of your home, while these tiles are temporary, choosing a design that complements your home’s aesthetic will create a cohesive look.
Installation tips for Peel and stick bathroom floor tile
Installing peel and stick floor tiles is DIY-friendly, but following these steps will make the difference between a floor that looks professional and one that is done by yourself.
Step-by-Step Installation Tips
- Gather supplies first: You’ll need a measuring tape, utility knife, straight edge, pencil, cleaning supplies, and a hair dryer or heat gun. Having everything ready before you start makes the process smooth.
- Prepare your existing floor: This is an important step. Remove all baseboards, clean the floor to remove ALL dirt, grime, and soap residue. Use a degreaser if necessary. Let the floor dry completely because the moisture will prevent proper adhesion.
- Check for floor unevenness: Run your hand across the floor to feel for bumps, dips, or texture. Fill any dips with floor leveler and sand down any high spots. For textured floors, you need to apply a thin underlayment for a smooth surface.
- Plan your layout: Measure your bathroom and determine the starting point. Starting from the center of the room works best, especially with patterned tiles. Avoid having slivers of tiles along walls.
- Do a dry run: Lay out tiles without removing the backing to confirm your pattern and check how tiles will fit around fixtures.
- Work in small sections: Don’t expose the adhesive on tiles. Work with few tiles at a time to prevent the adhesive from collecting dust or losing stickiness.
- Apply with pressure: After placing each tile, press smoothly from the center outward to remove air bubbles. Use a rolling pin or a clean rolling pin from your kitchen to apply pressure across the tile.
- Cut tiles as needed: For cutting around toilets and other fixtures, make paper templates first, then transfer the pattern to your tile. Cut from the back of the tile using a sharp utility knife and straight edge.
- Apply heat for flexibility: Use a hair dryer to warm tiles when you need to bend them around corners or fixtures. The heat makes vinyl flexible and easy to work with.
- Seal edges if necessary: In wet areas, consider applying a thin line of silicone caulk around the perimeter of the floor where it meets walls, tubs, or shower bases to prevent water seepage.
- Wait before heavy use: Even though you can walk on the floor, try to avoid sliding heavy objects or excessive water exposure for at least a day or two to allow the adhesive to set.
Maintenance tips for peel and stick floor tiles
Proper maintenance extends the life of your peel and stick floor tile bathroom. The good news is that these floors are low-maintenance compared to many other flooring options. Follow these simple fixes tips to keep your floor looking great.
Maintenance Tips
- Daily cleaning: Sweep or vacuum regularly to prevent dirt and grit from scratching the surface. Use a soft-bristle broom rather than stiff bristles that can scratch.
- Weekly mopping: Use a damp mop with warm water and an amount of mild dish soap. Avoid harsh chemicals, abrasive cleaners, or oil-based products that can damage the finish or adhesive.
- No standing water: Wipe up any puddles, especially around the toilet, sink, and tub and shower area. Standing water can seep into seams and weaken adhesion over time.
- Use bath mats: Place bath mats in high-water areas like in front of the shower and tub and sink. This reduces water exposure to your tiles.
- Skip the steam mop: Heat from steam mops can soften the adhesive and cause tiles to shift or lift. Stick with regular damp mopping.
- Prevent scratches: Add felt pads to the bottom of bathroom furniture, trash cans, or other items that can be moved across the floor.
- Fix lifting edges promptly: If you notice a corner starting to lift, clean under it, dry completely, and apply a small amount of tile adhesive to re-secure it.
- Avoid rubber-backed mats: Some rubber bath mats can cause discoloration on vinyl flooring. Opt for cotton or other non-rubber options.
- Control humidity: Use your bathroom fan during and after showers to reduce humidity, which can affect adhesion. Leave the door open when the bathroom isn’t in use to improve air circulation.
- Refresh as needed: If your tiles start looking dull after a year, you can apply a thin coat of vinyl floor polish designed for no-wax floors to restore shine.
Conclusion
Peel and stick floor tile bathroom offers an option for bathroom makeovers when you want an impact without hassle or expense. They’ve come a long way from the cheap-looking options, with versions of expensive materials.
Their lifespan is shorter than traditional tile, especially in bathrooms where moisture challenges the adhesive. But when you weigh the pros and cons, they make sense for many situations like rentals, quick updates, budget renovations, or for sudden change of the style.
The key to success is choosing the best tiles for your bathroom conditions, prepping your floor properly, and following the installation steps. With low prices and installation taking hours instead of days, it’s hard to find a budget-friendly way to transform the bathroom.
Pick a pattern that makes you happy, and get ready to make your bathroom all over again. These peel and stick floor tile bathroom designs will inspire you to make a bathroom which is trendy as well as comfortable and cozy.