Contrary to popular belief, you don’t need a large garden or space to begin composting.
Your small apartment and even your kitchen are more than enough to live the eco-friendly life you desire.
However, to make this work, you need to apply the right strategies, such as what to compost, how to manage odors and pests, how to manage small spaces correctly, and more.
Luckily, this post will cover all you need to know and more about going green indoors.
Composting in an Apartment: Tips for Small Spaces
Don’t believe that simply because you live in an apartment, you cannot compost. It’s simply a matter of using the correct strategy.
Here are some strategies you can use to make composting successful within your kitchen, on your balcony, or even underneath your sink.
Start in Your Kitchen
The best starting point for composting is your kitchen.
Simply place a small, sealed container either on your kitchen counter or under the sink.
Collect and save all your fruit peels, vegetable trimmings, coffee grinds, and egg shells.
Do not include any meat, dairy products, or oily items when you want to create compost. Empty the container at least once per week.
Creating this small daily habit will reduce your trash output while creating a valuable resource for your plants.
Check Your Building Rules First
Before you start, check your lease or contact your property manager to see if there are any balcony storage or waste disposal restrictions in your building.
Rental properties that clearly market themselves as professionally managed in Arlington will provide guidance on what is and is not allowed.
This way, you can compost without violating your lease.
Use Your Balcony Wisely
If you have a balcony, then you have more options.
Covered bins or small compost tumblers work well outdoors. Just keep it clean and seal it to prevent pests from getting into it.
Balcony composting gives you more space and better air flow.
Always check with your building first to ensure there are no restrictions on items stored on your balcony.
Try Vermicomposting
Worms are your friends. Red wigglers are used in vermicompost bins, which have shredded paper as their “bedding.”
As you add food scraps to the bin, worms will break down the food scraps, turning them into nutrient-rich compost.
Because the worm bin is covered, does not have a bad odor, and can be placed under the sink or in a closet, this method is ideal for apartment dwellers who do not have enough space to compost using heat.
Consider Bokashi Composting
The bokashi system allows you to ferment your food scraps rather than using worms. In a bokashi bin, the food scraps are added to a special bin.
When the bin is closed, no odors escape.
A bokashi bin takes up little space and can accommodate a greater variety of food types (e.g., cooked) compared to vermicompost.
To complete the bokashi composting process, you will need to have access to a community compost drop-off.
Keep It Simple
Basic sealed containers will work just as fine as more expensive equipment.
Choose consistency over complexity when it comes to selecting a container for your scrap collection.
Empty your container regularly and keep only approved materials.
Understanding composting in an apartment can make indoor gardening easier and more eco-friendly.
It can also be done with less added stress to your daily life.
Choosing the Right Containers and Materials for Indoor Composting
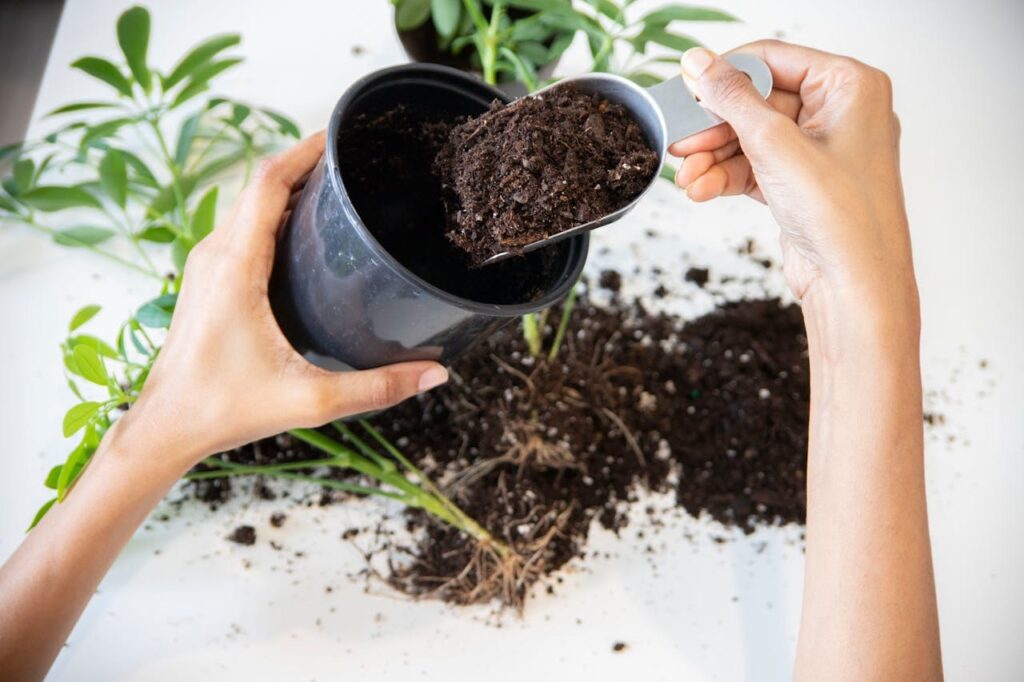
Your container is what will either simplify or complicate indoor composting.
A good container will allow you to compost in a way that does not create odor, pest problems, or frustration.
Here’s what to look for in a container and what to place inside it.
What to Look for in a Container
You will want to select a storage container that meets three main criteria.
The first is a good sealing lid so that the odor does not escape and/or bugs do not get into it.
The second is a container that is large enough for your available space.
Countertop storage containers typically have a 1-gallon capacity; however, under-sink containers have much greater capacity.
The third criterion is durability. Select a product that will not crack that has no absorption for odors.
The best products for countertop storage would be either ceramic or stainless steel, since they both provide a great seal.
Plastic under-sink bins also provide a great option if you can find them with locking lids.
If you are planning on attempting vermicomposting, you will need a specialized vermicomposting bin.
These bins have holes for air circulation and drainage.
Bokashi requires an airtight container (bucket) with a spigot to allow you to remove the liquid.
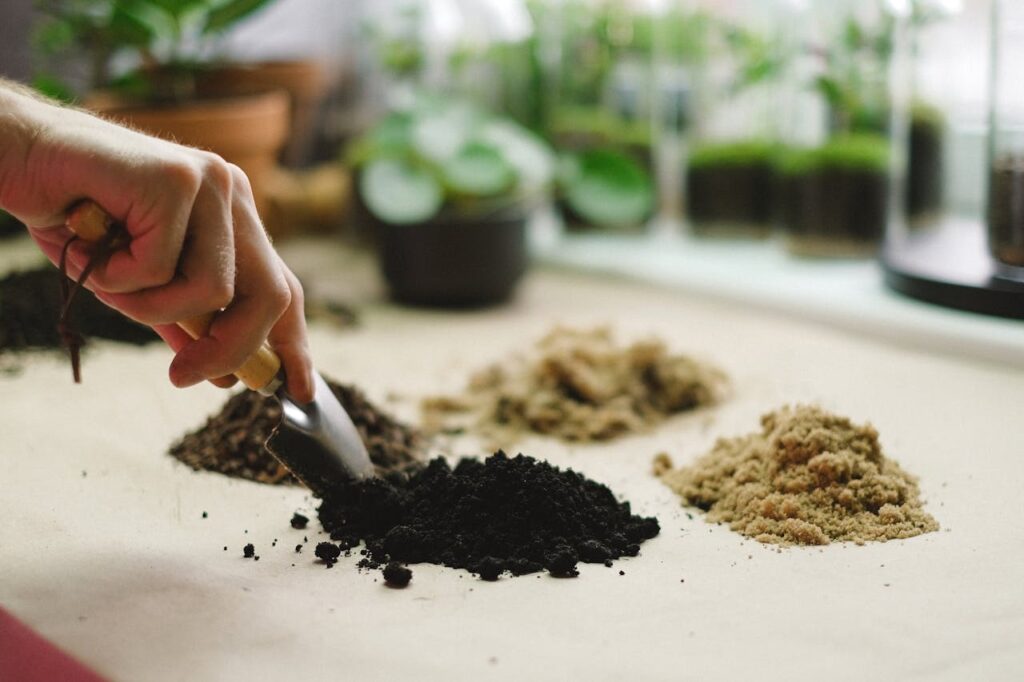
Acceptable Materials for Indoor Composting
The items you put in your container are important. The best materials for a compost pile or bin include:
- Food waste (fruit peels, vegetable ends, etc.)
- Coffee grinds and coffee filters
- Dried tea bags (without the staple that holds them together)
- Crushed egg shells
- Newspaper or shredded cardboard
- Dry leaves and clippings from indoor plants
These will decompose quickly and with little odor if they are handled properly.
What to Avoid in Indoor Composting
Some items should be thrown away rather than composted:
- Meat, Fish, and Poultry Scraps
- Dairy Products
- Greasy Food Items
- Large Amounts of Cooked Food
- Pet Waste
- Disease Plants
- Seeded Weeds
Using the wrong items for composting will cause pest problems and odors, and will destroy the composting process.
Maintaining Your Compost: Avoiding Odors and Pests
Even if your apartment enjoys the benefits of professional cleaning service, you still need to minimize pests and odors to avoid legal or financial trouble.
The good news is that both of these can be eliminated. With a couple of small habits, your compost will remain odor-free and insect-free.
Use a Sealed Container
An open bowl invites fruit flies. A loose lid allows odors to escape.
A tightly sealed container holds all of its contents.
The use of a tightly sealed container prevents most pest issues from developing. Look for containers with locking lids or gaskets that hold the smell inside.
Empty Regularly
Even when using a closed container, do not let the contents build up. Your kitchen container should be emptied at least once every two to three days.
Emptying the container as regularly as removing the trash from your house will eliminate the opportunity for pests to develop from the decaying material.
If you begin to notice a smell developing from your container, empty it even more frequently.
Know What to Add
Certain indoor foods may be problematic. Omit meats, dairy, and oily scraps; they are slow to decompose and produce strong odors.
Fruit and vegetable peels, coffee grounds, and crushed eggshells can all be used.
When utilizing bokashi or vermicomposting, always check the instructions that come with the system you use.
Balance Moisture
If your compost is too wet, it will smell.
Add dry materials if your compost is damp or slimy. Shredded newspaper, dry leaves, and cardboard help keep excess moisture from occurring.
The ideal moisture level in your compost is damp, like a wrung-out sponge.
Maintaining this type of moisture will ensure the decomposition process remains clean and free of odors.
Cover Fresh Scraps
When you add new food scraps, cover them completely with additional materials.
In a worm bin, this will help prevent the fruit fly population from growing.
In a composting container used in a home kitchen, covering fresh food scraps will contain the smell and help prevent unwanted pests from being attracted to your kitchen.
Store in a Cool Spot
Heat accelerates the process of breaking down waste and increases odor levels.
Store your container at least five feet from your stove, dishwasher, and sunlight.
The under-sink location or a shaded countertop will be ideal. Cooler temperatures indicate faster breakdown processes and less odor.
Clean Your Container
Clean the inside of your container after each use. This is to keep it free of old food residue that can attract unwanted insects and rodents.
Clean your container once per week using mild soap and water if you have one for countertops.
If you have a worm bin, do not clean it with harsh chemicals, as they are toxic to your worms.
Watch for Signs Early
Most problems are better off caught before they develop.
A handful of fruit flies indicates that your container is full and needs to be emptied and cleaned.
A faint odor suggests a possible moisture problem; therefore, check on moisture levels. Small issues are always less costly to fix than larger ones.
When Problems Arise
If you ever get fruit flies in your composting container, empty the container completely, wash it, and place a small amount of apple cider vinegar in a separate small bowl near the container.
This will help capture any remaining fruit flies.
If the odors do not dissipate after adding the apple cider vinegar, your compost may be too moist.
Try to add some dry items to balance the moisture levels and limit the number of high-moisture items going into the compost for the next short period of time.
Conclusion
Apartment composting is quite easy to manage when you have the correct tools for the job.
The use of a well-sealed container, using only appropriate materials for the compost pile, and routine cleaning will help eliminate odors, reduce pests, and ultimately help you grow plants indoors and sustainably.
As a landlord, you can market your property through green rental marketing campaigns targeted at sustainability-conscious renters.
Clear rental marketing campaigns distinguish professional property management in Arlington from self-managed properties.
In the end, you have happy clients, a lower vacancy rate, and you are promoting a greener earth. Everybody wins!